Build A PC Flight Sim For Fulldome In 20 Minutes
No knowledge of coding is required, and all the tools shown in this tutorial are free to use.
-
Hello, my name is Belin Fieldson, I’m a software developer who builds VR, AR and mixed reality applications. You can find my current personal fulldome project on www.cosmicorbiters.com. Download it today if you have a dome, it’s a fun game for your attendees to play with their smart phones. Today we’re going to learn to build a fulldome flight simulator game.
We’re going to be building our fulldome flight simulator game using Unity. I’m using the latest version, which is 2017.1 right now.
The ideas that I’m covering are basic game construction techniques. We’re going to learn about importing packages, using assets from complete projects, terrain sculpting, the basic water shader, particle systems, flight vehicles, input setup for joysticks, respawn techniques, collision handling and broadcasting render textures from cameras.
I love to code, but I know that’s not how most of us feel about it. This tutorial doesn’t require that know how to code.
You’ll also need a copy of DomeMaster tools by Charles Veasey, Spout Framework for Windows, and Spout4Unity, These tools will be used to get your videogame content into the multiple projectors which make up a dome.
Unity setup:
Unity3D latest version, (personal or pro)
Setup
- Download everything in the list
- Install Unity3D
- Install Spout For Windows (For fulldome support)
- Decompress Spout4Unity-master package and copy the UnitySpoutDemo folder to your Documents / Unity directory, or wherever you like to work on Unity projects
- Rename the UnitySpoutDemo folder to DomeFlyer
- Start Unity3D, and when it asks what project to open, open the DomeFlyer folder you made, it will warn you about the import version updating, say OK.
- Create a new scene and save it as DomeFlyer
- Import Package / Environment
- Import Standard Assets / Vehicles
- Import Standard Assets / Particle Systems
- Import DomeMaster
Terrain
- Add a Standard Assets / Environment / Water (basic) / Prefabs / basic water daytime prefab to the scene
- Reset the basic water prefab, then set the scale to x:50000 y:1 z:50000
- Add a 3D plane to the water prefab, reset the plane, then remove its renderer component
- Add a Terrain to the scene
- Sculpt the terrain and texture it according to your taste, I recommend making some islands. This is where you can really make your game shine. I’ll show you a way to bring real world textures into your game from maps in another tutorial.
- The video has further details regarding terrain generation
- Change the terrain position to x:0, y: -6 z: 0, this moves the places which are 0 height to slightly underwater.
- Change the terrain settings width & length to 20,000, and the height to 1500
- Add some trees. If you do this now, the trees will be generated with the expected clumps.
- Remember to save!
Clouds:
- Add a particle system to the scene and reset it
- Rename the particle system clouds
- Set the transform position y to 1000
- Check looping, and prewarm, set lifetime and duration to 1000, Start Speed to 0
- Set start size to Random Between Two Constants, which should be 200 and 2000
- Set 3D start rotation to Random between constants set the top Z value to 360
- Set start color to random between two colors, and pick white and light gray
- Set max particles to 1000
- Set emission rate over time to 1000
- Check Shape, set the shape to box, Set BoxX 100,000 BoxY 100 BoxZ 100,000
- Under Renderer, set the material to ParticleSteamMobile
- Remember to Save!
Airplane
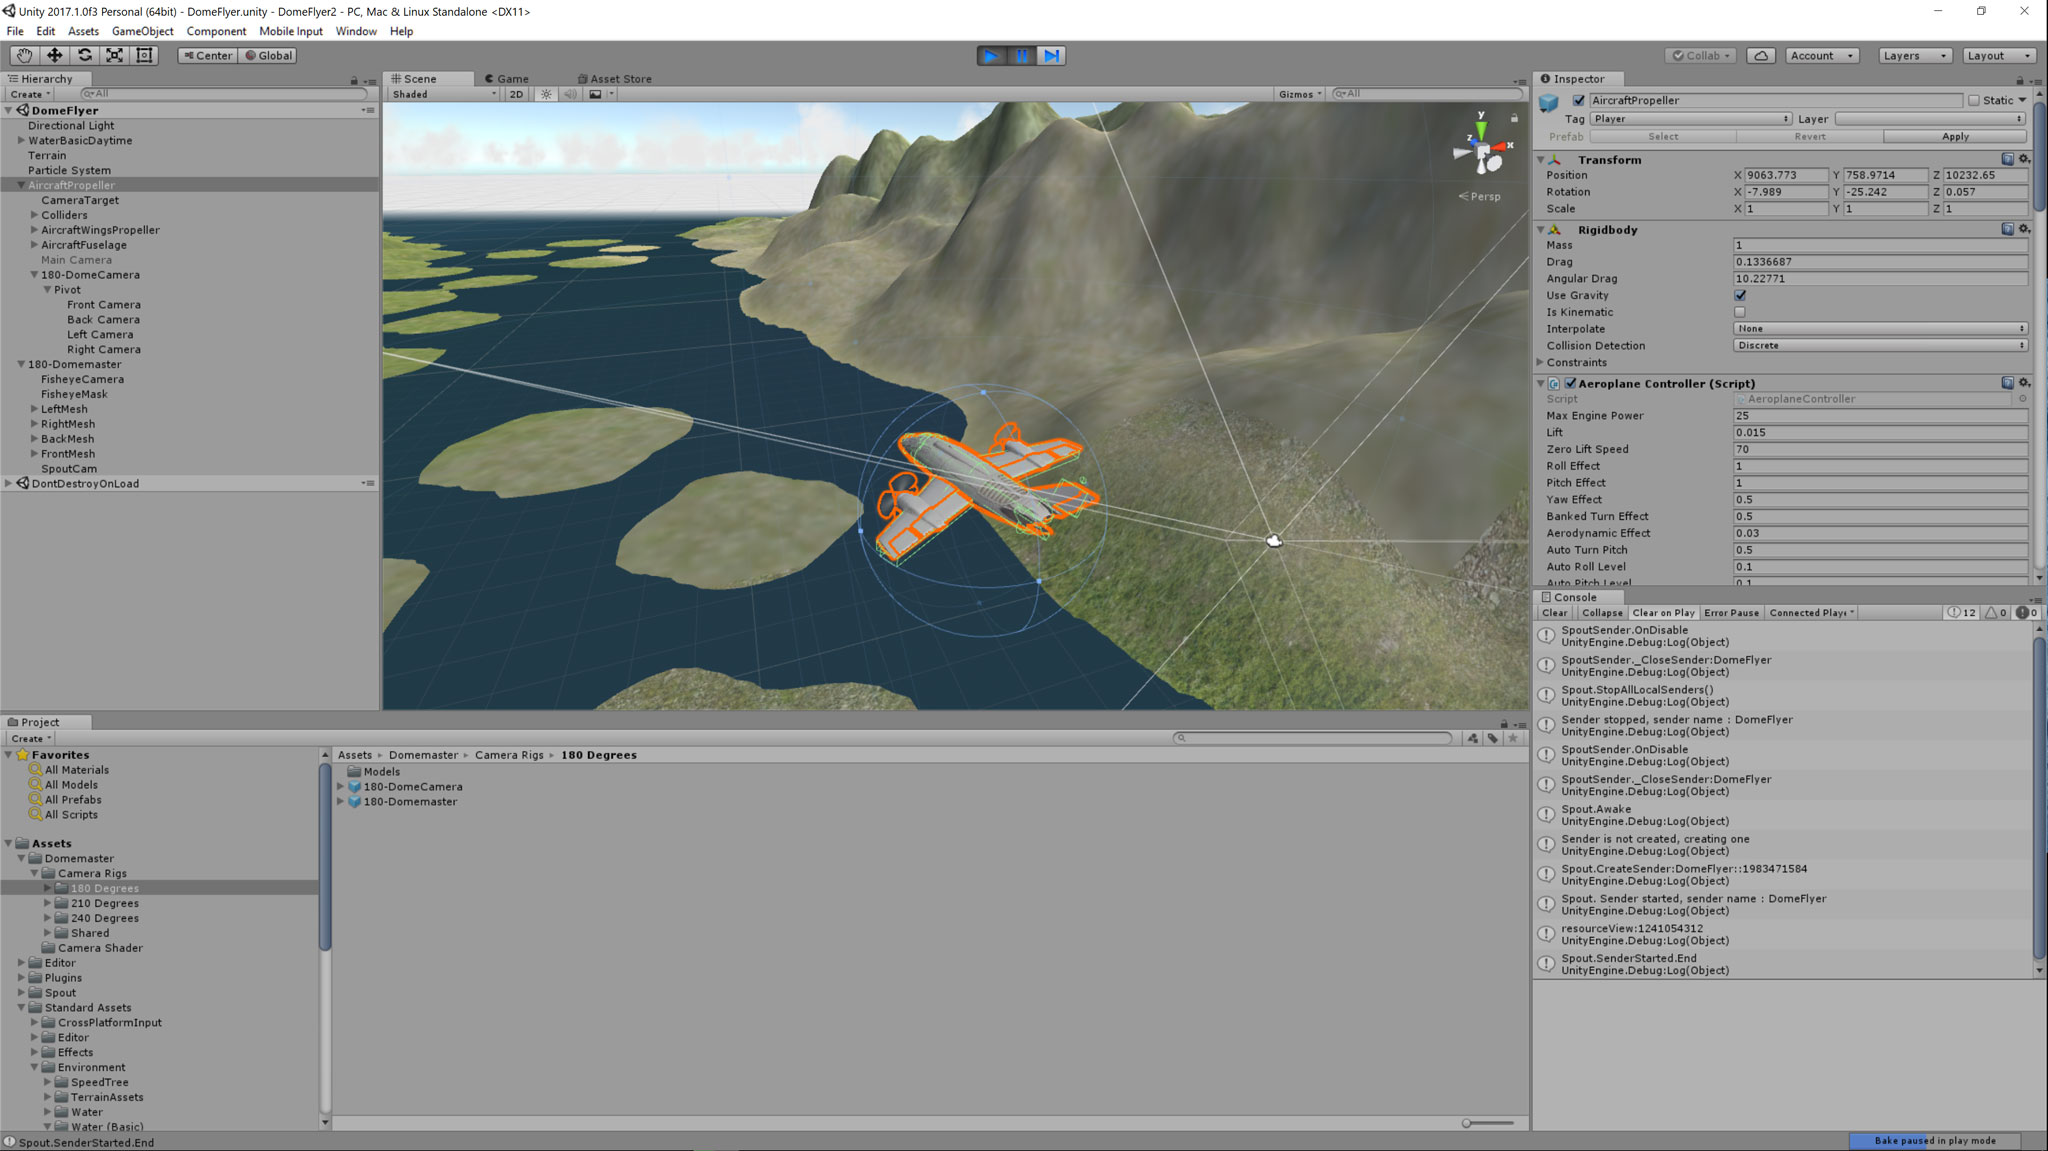
- Add a Standard Assets / Vehicles / Aircraft / Prefabs / AircraftPropeller (you can add a jet if you want to, but I’m using a prop plane for the demo)
- Add an audio listener to the AircraftPropeller, reset its position and rotation
- Elevate the airplane to a y transform of 500 for a “flying start”
- Fix texture albedos on the propellers (drag the three propeller albedo textures onto the propeller scripts)
- Add an Standard Assets / Particle Systems / Explosive script to the AircraftPropeller
- Drag a Standard Assets / Particle Systems / Prefabs / Explosion onto the Explosive Script
- Remember to Save!
Camera
- Open the Lighting window (Window / Lighting)
- Check Fog, Set Fog Mode to Linear, Start to 8000, end to 10000, and color to light gray
- Close the lighting window
- OPTIONAL: Drag the default Main Camera onto the AircraftPropeller Set the transform position to x:0, y:10, z: -20 and the transform rotation x to 20, and the Field Of View to 90, and the Far clipping plane to 10000 Remove the audio source - If you don’t want to add the fulldome display stuff, skip to Configure now, play the game and show all your friends what you made. Tell them to all follow this tutorial and start a game development company of their own.
- Disable the Main Camera object.
- Add a new RenderTexture to the Project, rename it SpoutOut
- Update the SpoutOut texture size to 4096 X 4096 for native 4K, or 2048 X 2048 for 2K output
- Add a new GameObject to the Hierarchy, reset it and rename it to Spout
- Add Spout / Scripts / Spout to the Spout object, Check Is Enabled In Editor
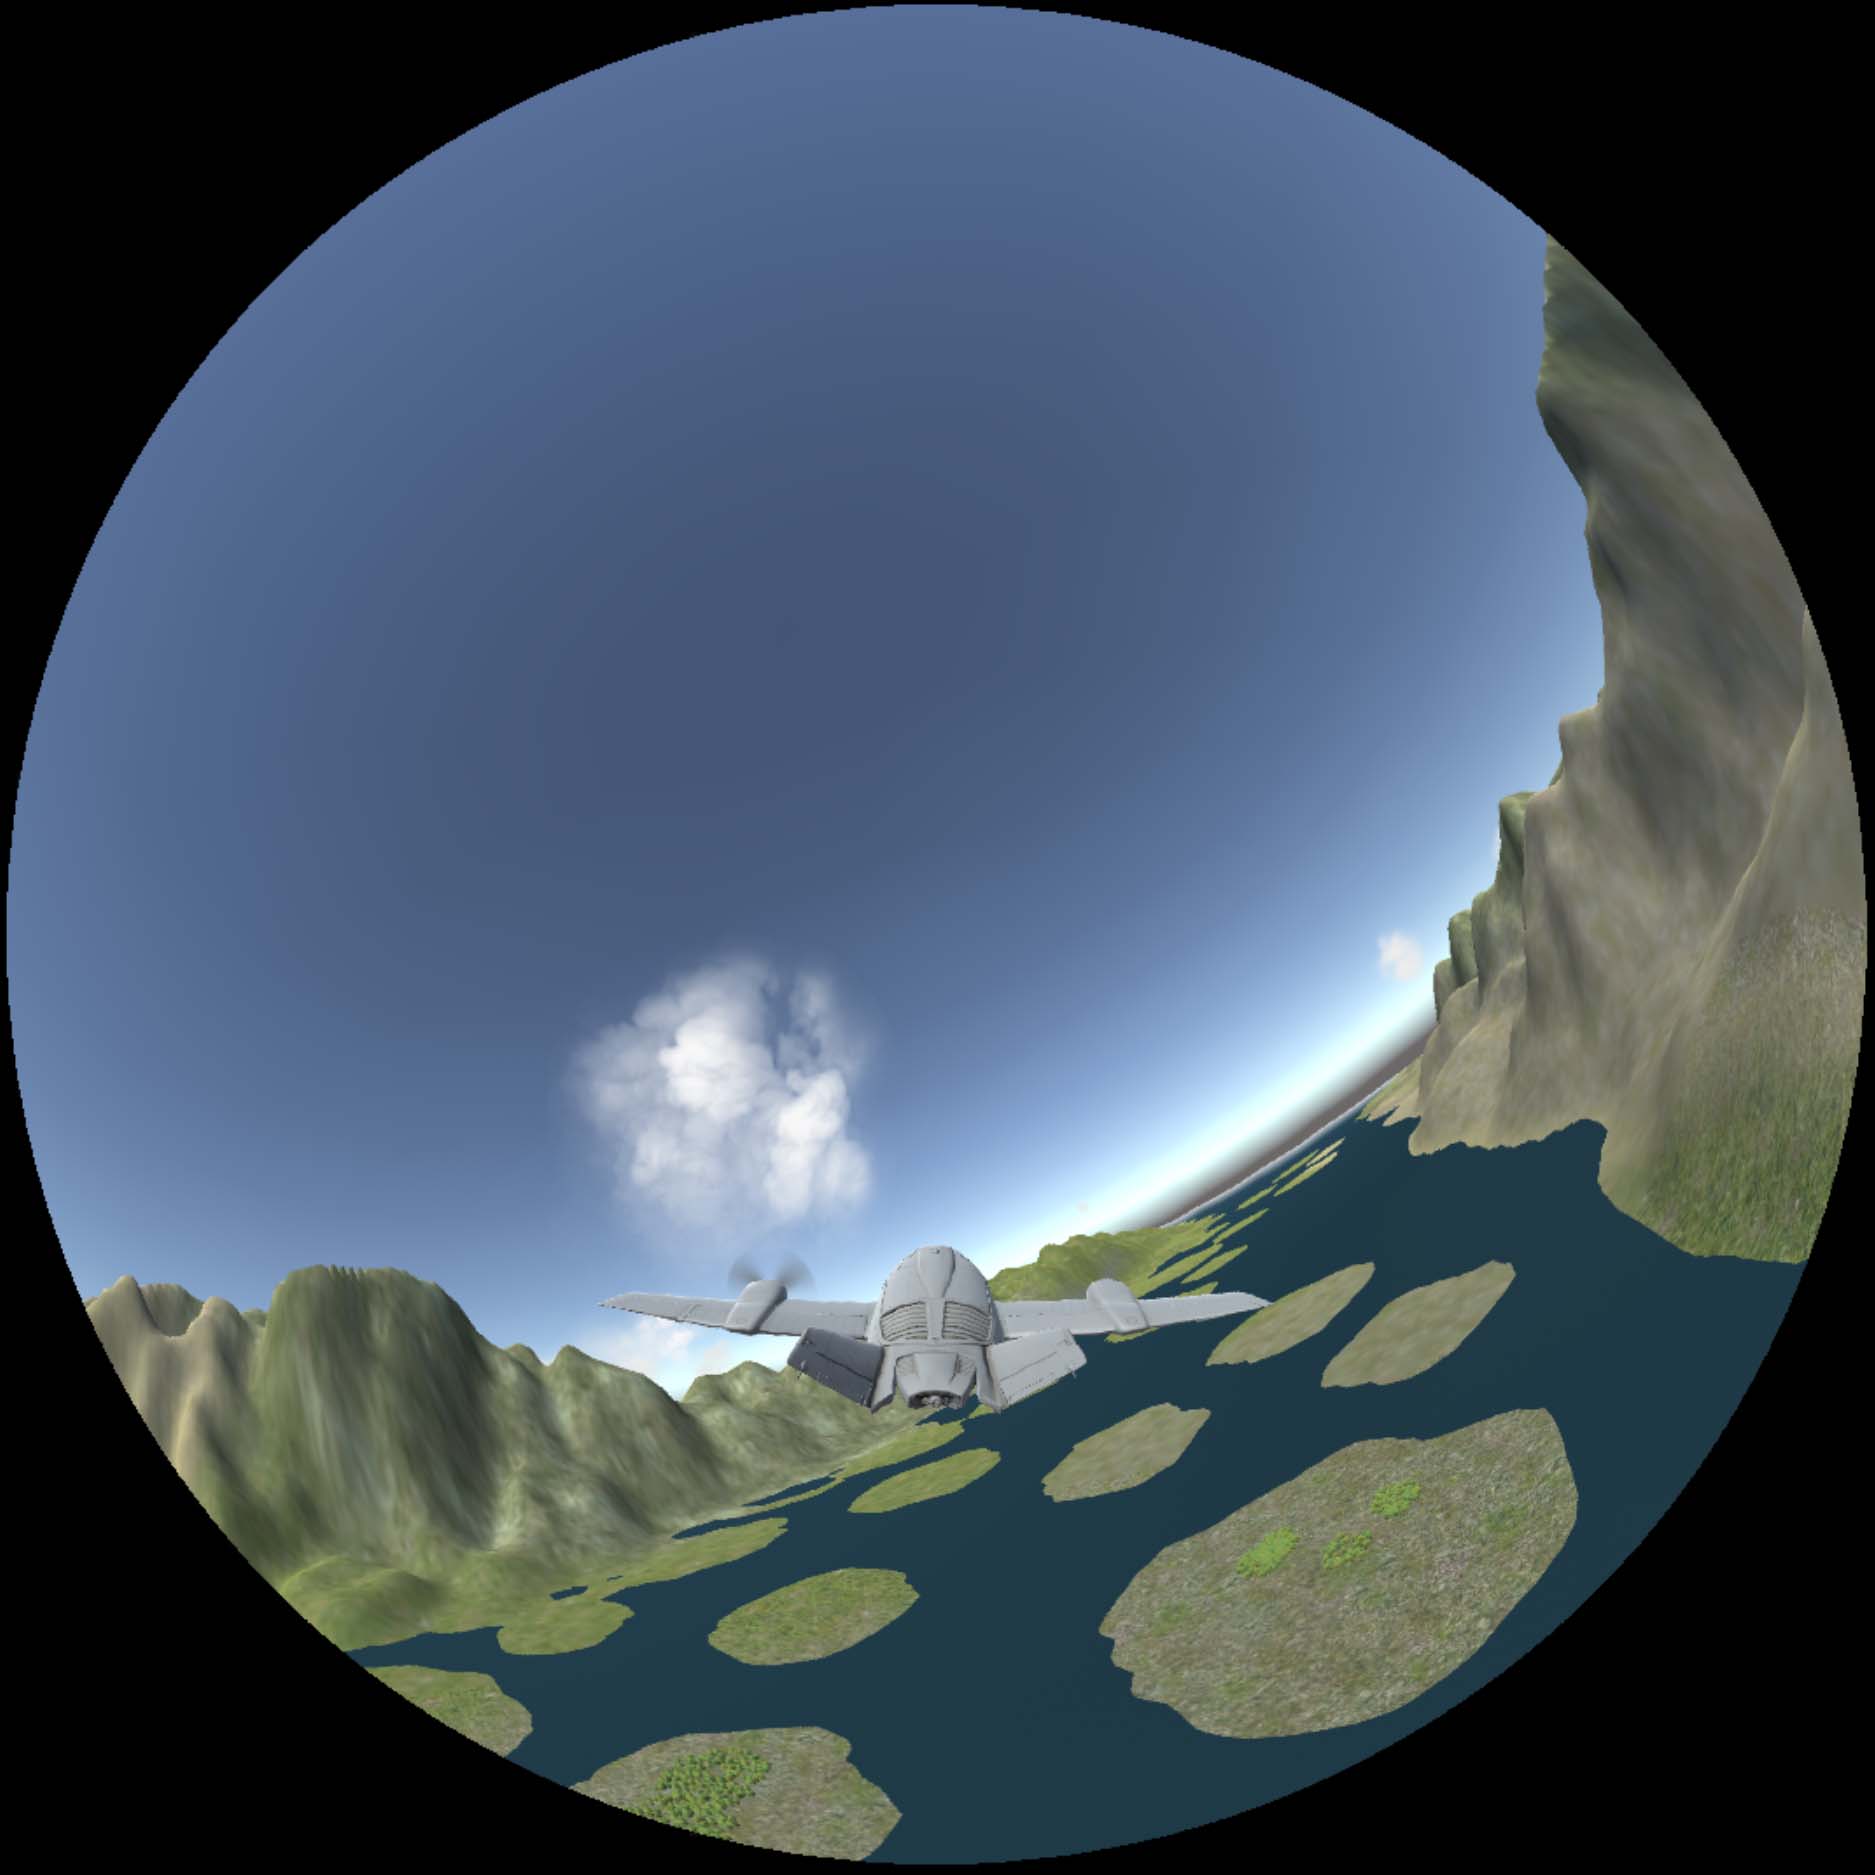
- Drag a Domemaster / Camera Rigs / 180 Degrees / 180-Domecamera and a Domemaster / Camera Rigs / 180 Degrees / 180-Domemaster prefab onto the scene
- Drag the 180Domecamera onto the airplane, set the transform position to x:0, y:10, z:-20 and the rotation to x:75, y:0, z:0
- Go into the 180Domecamera prefab’s pivot and adjust each camera’s far clipping plane to 10,000
- Open the 180-Domemaster prefab you added to the scene earlier, it has a FisheyeCamera in it.
- Duplicate the Fisheye camera, rename the duplicate SpoutCamera
- Add Spout Sender to the SpoutCamera
- Change the Sharing Name to DomeFlyer
- Change the Texture to SpoutOut
- Add Invert Camera script to the SpoutCamera
- Save Your Game!
Joystick
- Unity comes with basic joystick controls already configured, and the mouse and keyboard can be used to control the plane. You might want to add the secondary joystick input if you have a dual stick controller like those made by Microsoft for the XBox. Multiple XBox controllers can be added to a Unity game, and they are remote. If you don’t care about joysticks and are going to play with your mouse and keyboard, go on to Configure. Since the 4 Axis controller for flight in Unity uses the Mouse X And Mouse Y for tracking pitch and roll, we’re going to add those to the joystick.
- In the controls which Unity comes with, the inputs all map to a single player. To build a game where more than one player can run a character, you can add multiple joystick controllers. This is an easy way to build a fun multiplayer game for your dome.
- Open the Input Manager Edit / Project Settings / Input It pops up in the Inspector, Look for the second Horizontal and the second Vertical items, and duplicate each of them
- In the second entry of Horizontal, Change the Name to Mouse X and the Axis to 4th Axis (Joysticks)
- In the second entry of Vertical, Change the Name to Mouse Y and the Axis to 5th Axis (Joysticks)
- Save Your Game Again!
Configure
- File / Build Settings Add Current Scene, uncheck any other scenes
- Click Player Settings, it opens the player settings in the Inspector
- Under Player Settings, Set your name and whatever you want to call the game, I called it DomeFlyer
- Under Resolution and Presentation Uncheck Default is Full Screen, check Run in Background, check Allow Fullscreen Switch and Visible In Background, optionally,
- check Force Single Instance.
- Click Build and select a name for your game
- Play your new game on a dome using omnidome or vDome for Windows, or project it with a single projector.
Downloads